

Hello everyone!
It’s most definitely autumn now and I’m just getting started decorating for Halloween. I have a small collection of pumpkins that I dot around the house, some I’ve made and few I’ve bought, and I like how they instantly make the house feel 100% cosier.
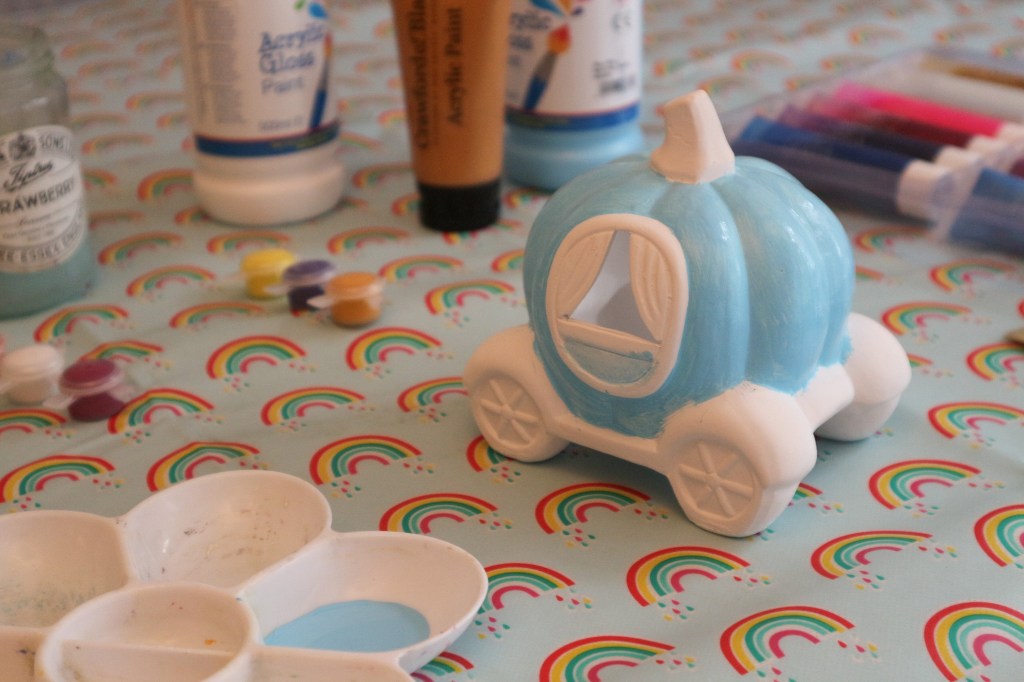
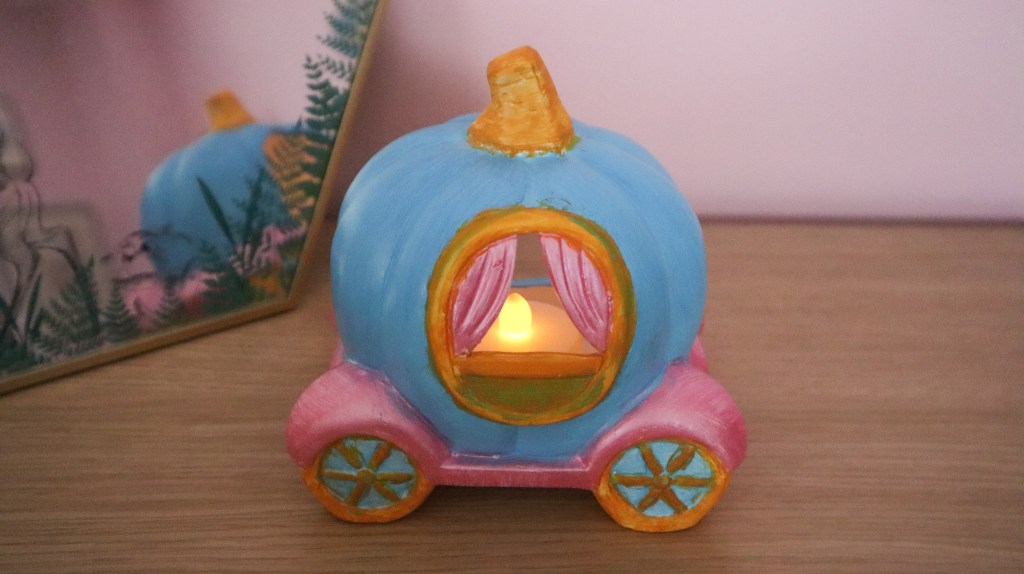
When I spotted this paint-your-own pumpkin carriage at Hobbycraft I knew it was the perfect addition to my collection, and even better, it was only £3!
My inspiration for this decoration was the iconic scene from Cinderella where the fairy godmother turns a pumpkin into a carriage. It’s one of my favourite scenes from the movie, it’s just so magical, and I thought the colour scheme of Cinderella’s carriage would fit perfectly with the rest of my Halloween/Autumn decorations. ☺️

What you will need:
- Blank ceramic pumpkin carriage
- Acrylic paint
- Paint palette
- Paintbrushes
- A cup of water and a paper towel (to clean your paintbrushes)
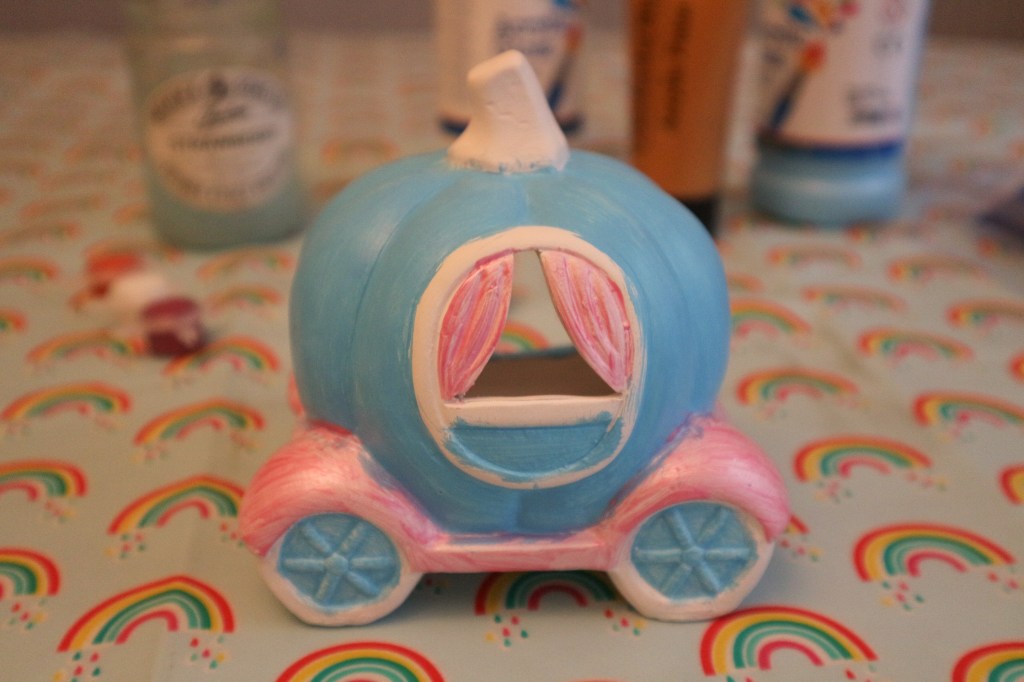
I had to use some of my own acrylic paints as the kit didn’t come with the colours I needed. First, I painted the pumpkin section of the carriage in light blue. I think in the end I did about four coats of acrylic paint to get the colour opaque enough, as the brand of paint I’m using is quite thin. When all the layers were dry, I added a topcoat of metallic blue for a little sparkle.
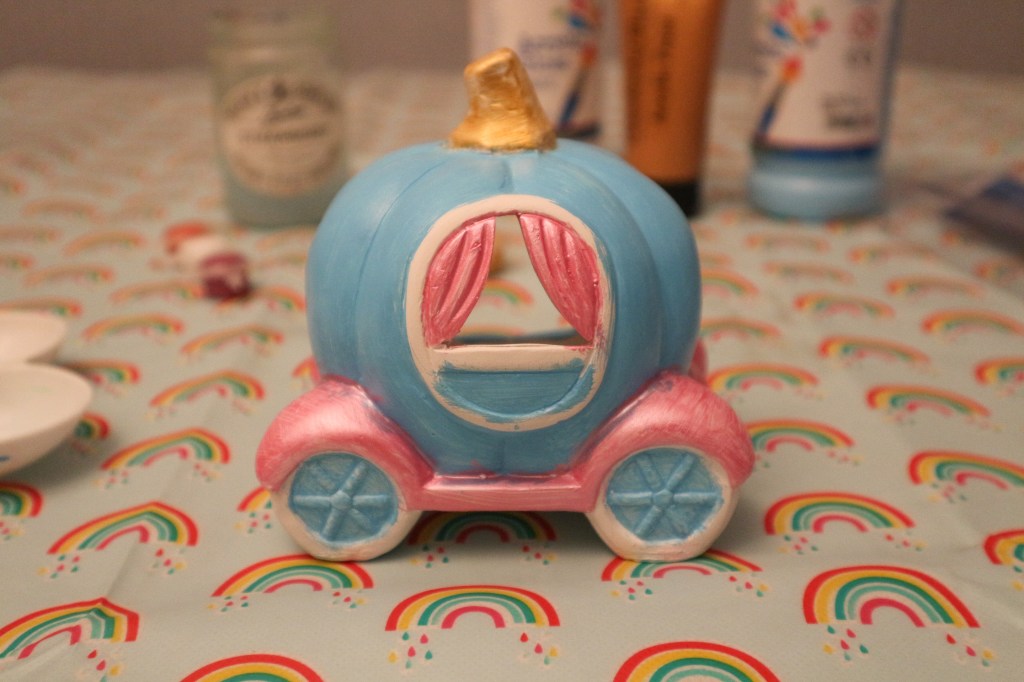
Next, I painted the curtains pink, and I decided to paint the area above the wheels pink too to tie it all together. This also took about three to four coats of metallic pink paint.
Lastly, I painted the pumpkin stalk gold and the details around the door and window gold as well to match Cinderella’s carriage. The gold paint was also very thin, so I decided to go back over it with the yellow and orange paints that came with the kit. This created a strong base coat. I then painted two layers of topcoat with the gold acrylic paint.
Although the wheels of Cinderella’s carriage are a silvery blue, I decided to paint mine gold instead, my pumpkin carriage is a slightly different shape wheel-wise, and I felt it would tie all the colours together better on this pumpkin carriage.
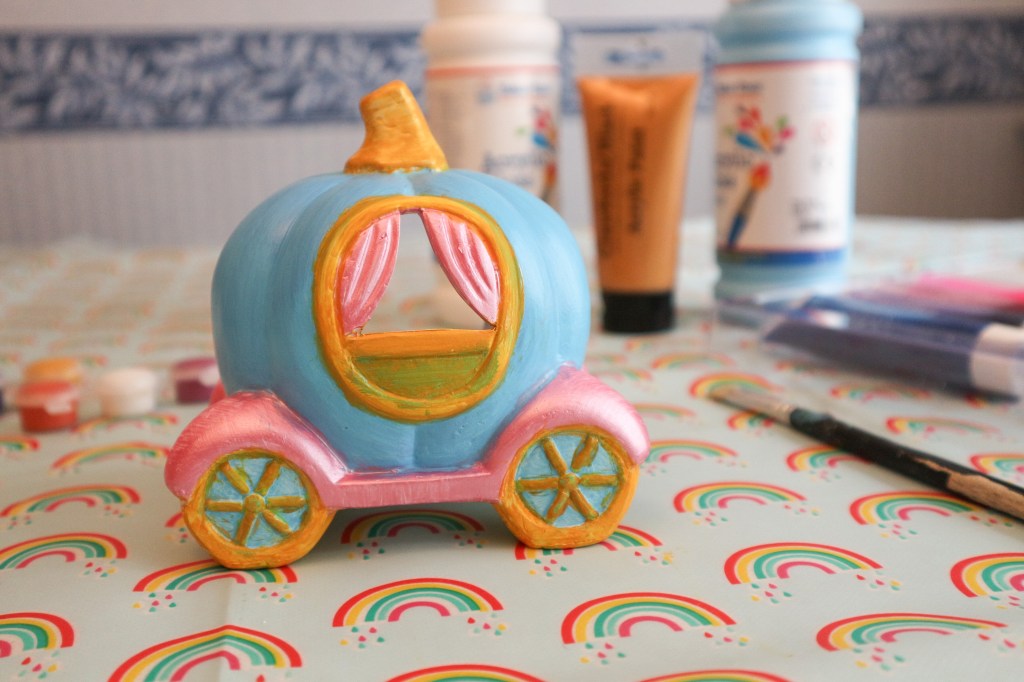
Now just leave it to dry for a couple of hours and it’s ready to display. 😁

This ceramic pumpkin is actually a tea light holder, so it has a hole in the back to insert an LED tea light, and I love the way the light sparkles through the tiny window at the front. I love tea lights and fairy lights in autumn/winter, they just make me feel so cosy and happy.
I hope you enjoyed today’s craft! I’m excited to announce the launch of my YouTube Channel and share with you my first ever YouTube video. Sit back, grab a snack, relax and paint along with me as I show you how I recreated this Cinderella’s Pumpkin Carriage to add to my Halloween decorations.
Comment below: Do you decorate your house for Halloween? I like to go with a cute – not so spooky – theme, with a bunch of glittery and pastel pumpkins 🎃
I’m currently aiming to continue posting weekly, on Saturdays at 4pm BST, with a mixture of craft, sewing and knitting tutorials, book reviews, baking recipes and more
Follow my crafty adventures and for more updates on my posts check out my Instagram @lilacdaisiesdesigns and @princessemily_m
Stay safe and best wishes,
Emily M x


Leave a comment