
Today we are back with another Decopatch craft! This time we have a Christmas tree decoration.
What you will need:
A Christmas tree shape (Decopatch brand, mdf, wood or papier-mâché)
Decopatch papers (Like thick tissue paper)
Decopatch glue (Similar to pva)
A Decopatch brush (these are made from hog bristles, I use size 10)

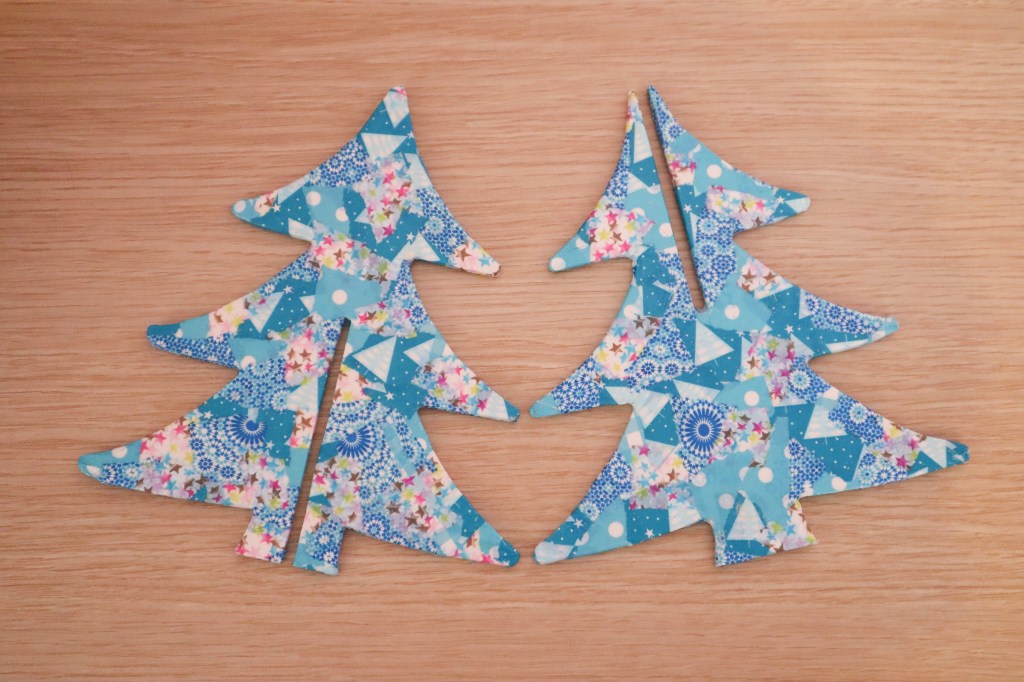
In my Decopatch paper stash I found a blue paper with Christmas trees which I felt was a good fit for this craft! 🎄 I paired this with two blue patterned papers, one with a circle pattern to represent baubles. I also found a star pattern which had the blue colour, but also pink, yellow and gold to add a little contrast.

Begin by tearing your papers into small pieces and arrange them like a palette.
My tree is made in two halves that slide together so that it can stand up, this meant that it has a slit up the middle of both pieces.


I began by decopatching the slit, as this would be the trickiest part. Brushing Decopatch glue onto the tree where I want to stick the paper, then placing the paper and using the brush to smooth it down flat.

After this I continued around all of the edges.

And then the middle of the tree, making sure there are no gaps.
I then repeated this on the other half of the tree.
Leave the tree to dry, I stood mine up against the Decopatch glue pot so that it wouldn’t stick to the table cover.

Finally, once dry, coat both pieces with Decopatch glitter glue to varnish.

Note: I had a little issue sliding the two pieces back together, the paper made the slit slimmer and glue made it tacky so it would stick and get stuck, it was a struggle getting it this far! Next time I will either sand down the slit wider myself or Decopatch it with both halves together.
If you liked this craft, click here to read my previous Decopatch post: 12 Crafts of Christmas: Day 4 Decopatch Reindeer
Be sure to come back tomorrow for the next craft!
Follow my crafty adventures and for more updates on my posts check out my Instagram @lilacdaisiesdiy and @princessemily_m
Emily M x


Leave a comment